 |
|
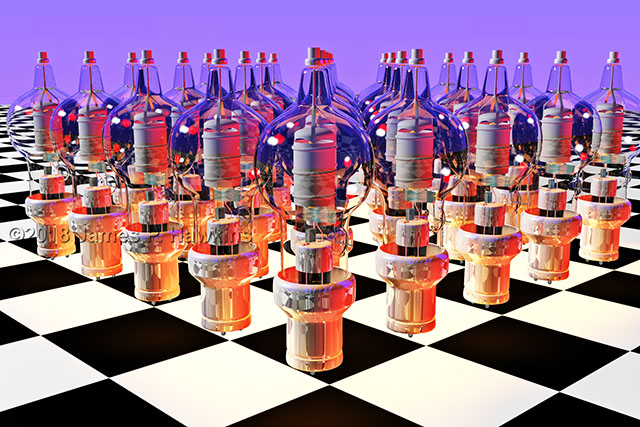
Array of 250TH Tube model |
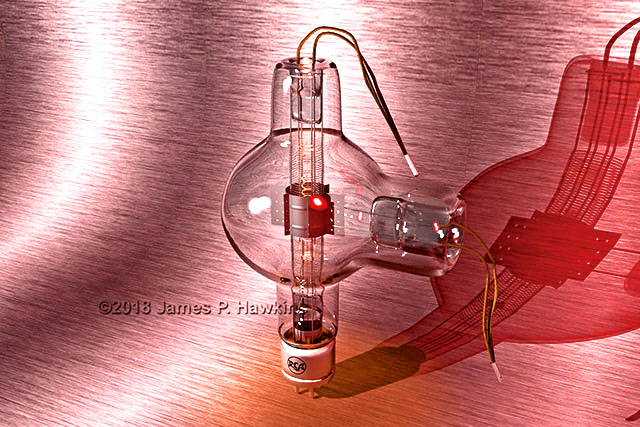
Eimac 250TH |
 |
I modeled this 250TH in the early 1990s using 3D Studio running on DOS. It was my first modeling of a vacuum tube. All cylindrical parts were created by drawing a spline outline, then using the "Lathe" tool. There was no raytracing or capability to add refractive properties to the glass, so I tinted it. The bumpy top globe was a result of my Lack of experience with splines. The tube I modeled it from is from an old radar set a friend unloaded on me when I was a young ham operator in my teens. |
| I used the above model to create a fly-through animation, which was used by a public television show, at their request, in the closing credits. Prior to the closing, the host announced the animation and named me as the animator. 3D animation was still in its infancy at the time. The show was called PCTV, which aired in New England. The end credit specifies the computer I was currently using in 2010. My present computer is a big upgrade from that time. I was glad to get rid of Vista! |
 |
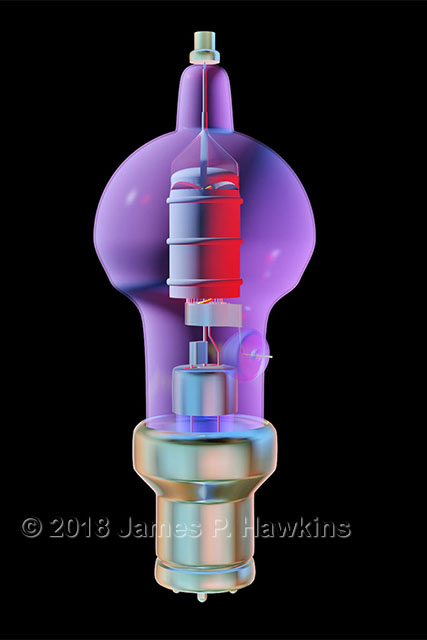
This is the same model, except the envelope was completely rebuilt in 3DS MAX using a technique of shaping a cylinder with a 2D background reference. The glass has an index of refraction of 1.5. Another improvement is the glass protrusion around the grid connection on the side. When I modeled the original version I had no idea how to reshape surfaces by manipulating the actual mesh. These skills were learned in numerous tutorials on YouTube. New, more realistic materials and a new rendering engine (Mental Ray) became available as 3DS MAX evolved. |
Eimac 304TH |
|
|
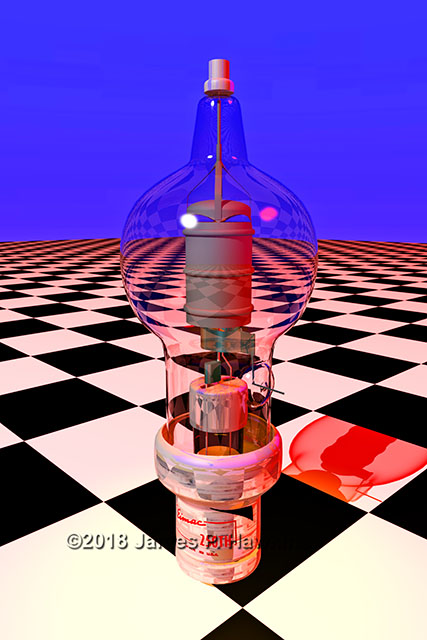
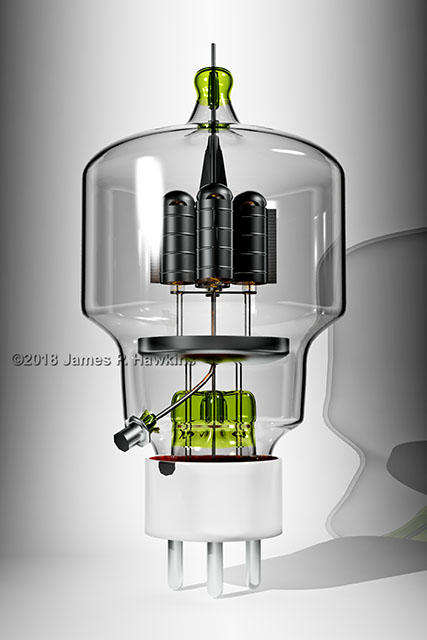
Eimac 304TH Power Triode Note the green tinted glass where the connections pass through the envelope. The glass is "doped" with Uranium to lower its coefficient of expansion to minimize the chances of breakage of the seal when the tube is heated and cooled. My Geiger counter does detect the additional radiation and these parts fluoresce blue with an ultraviolet light. |
|
|
Another view with a simple gradient background. |
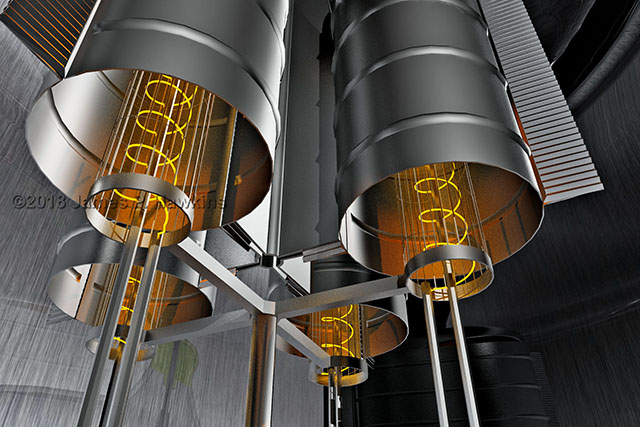 |
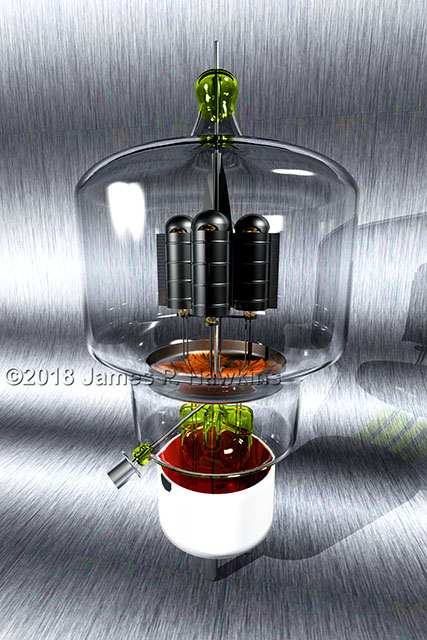
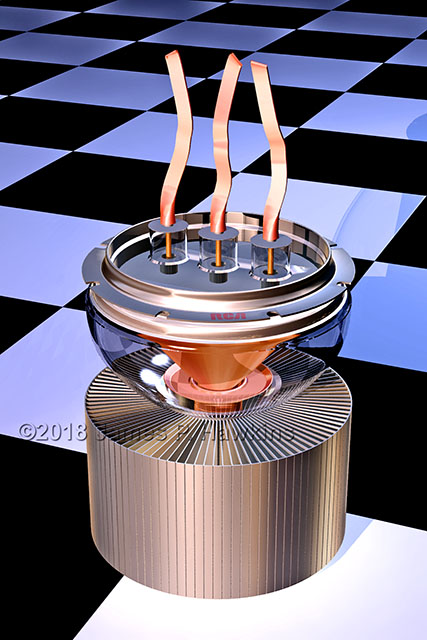
View up into the anode array with lit filaments. Reflections visible on the inside of the envelope. |
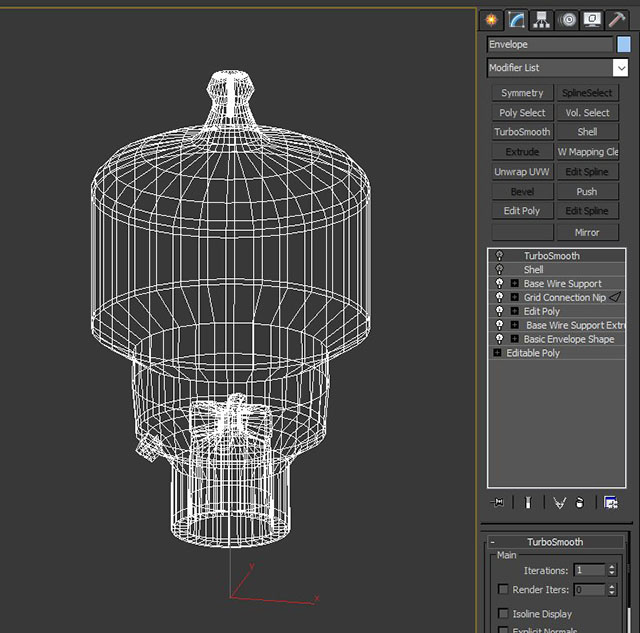 |
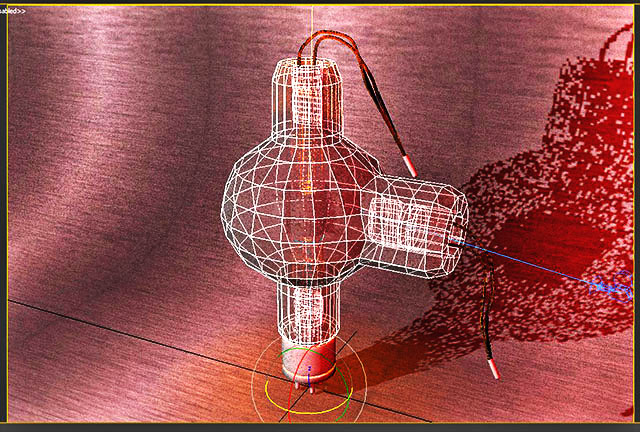
Wireframe only. For the benefit of modelers. The inside glass shape at the bottom of the envelope for wire connections was accomplished as follows: 1) Shape was inset, inset support edge, then extruded. 2) Used Swift Loop tool to define beginning of shaping portion. 3) Using Polgon select to select top of extrusion 4) Grow selection to boundary then shift-move piece down out of envelope to make a clone. 5) Make another clone of the piece in case I screw up 6) Flip Normals so that I can model from the outside 7) Selecting points in such a fashion to indent so a "cross" is left. This can be done many ways by adding edges, selecting vertices and shrinking it. 8) Bulge the cross sides on the tops and sides for more realistic blobby glass 9) When satisfied with shape, flip normals again so that inside is now the outside. 10) Select the same polygons inside the envelope, delete them then insert the reshaped support carefully and weld the piece back to the shape. |
Westinghouse 5604 |
 |
First model of the 5604. I purchased the tube at a hamfest for $50. This was a quicky eyeball model I had planned to use for a QSL, but never did. |
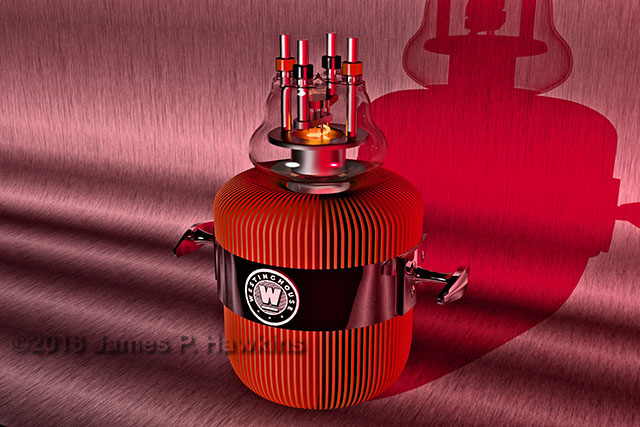 |
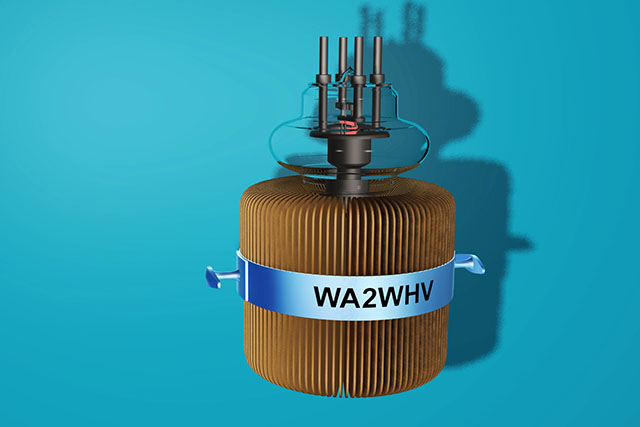
I remodeled the entire envelope, fins and band. Used new materials for glass and chrome. The 5604 was primarily used for inductive heating during WWII. |
RCA 5762 |
 |
RCA 5762 First modeled in 2001 |
RCA 860 |
 |
RCA 860 Power Triode |
 |
Side view closeup of Anode Connection. |
 |
Screen shot of 860 model before smoothing and rendering. Shows surface modeling topology. |
|
|
Plain view with greyscale backtround. |

To ZAHL Tube Page |
|
| JIM HAWKINS' RADIO AND BROADCAST TECHNOLOGY PAGE |
| CONTACT ME |